Gel Ombre Nails: Trendy Gradient Styles You’ll Love
Embrace the elegance of gradient with gel ombre nails! Discover stunning styles and the latest trends to elevate your nail game.
Gel ombre nails are the latest trend in the nail world. Their beautiful gradient effect adds elegance and fun to your look. Whether you like soft pastels, bright neons, or shiny metallics, there’s a gel ombre style for you.
In this guide, we’ll cover various gel ombre nail styles and trends. You’ll find step-by-step guides, expert advice, and recommended products. Everything you need to master this trendy nail art is right here.
Key Takeaways:
- Gel ombre nails are all the rage in the nail industry, offering a stunning gradient effect.
- You can choose from a wide range of colors and designs to create your unique gel ombre nail look.
- Achieving gel ombre nails is possible on nails of any length, including short nails.
- With the right care and maintenance, gel ombre nails can last for weeks.
- Whether you prefer gel polish or dip powder, both methods can be used to achieve beautiful ombre nails.
What are Ombre Nails?
Ombre nails are a trendy nail art style. They blend two or more colors together for a gradient effect. This style lets you try different colors and create unique designs. They stand out and make a statement.
Like soft pastels, bright neons, or shiny metallics? Ombre nails are for you. The color change adds depth, making your nails look amazing.

You can use sponges, brushes, or both to get the ombre look. Your tool and color choices depend on the effect you want and your skill level. But don’t worry, we have a tutorial coming up to help you master ombre nails.
If you want fun and stylish nails, try ombre. It’s a great way to express yourself. It’s fashionable and perfect for anyone looking to spice up their manicure.
Why Ombre Nails Are Trending:
- Offers a unique and eye-catching gradient effect
- Allows for endless color combinations and creative designs
- Complements various nail lengths and shapes
- Can be achieved using different application methods
- Adds depth and dimension to your manicure

Choosing Colors for Ombre Nails
Choosing the right colors is key to stunning ombre nails. The beauty of these nails is in the smooth color change. This creates an eye-catching gradient. We’ll look at the most popular color trends and give tips on picking the best gel nail colors for your gradient look.
Experiment with Complementary Shades

In ombre designs, harmonious colors look great together. Mixing soft pastels with bright colors can make beautiful contrasts. For a chic look, blend deep jewel tones with metallics. It’s important to pick colors that blend well together.
Stay Updated on Ombre Nail Trends
Ombre nail trends are always changing. New color pairs are popping up all the time. Keep up with fashion magazines, nail blogs, and social media to stay current. Adding trendy colors to your design lets you express your unique style and creativity.

Consider Your Personal Style
Your personal taste is crucial when picking colors for ombre nails. If you like classic looks, choose neutral shades like nude or light gray. For a daring look, try neon or bold primary colors. The colors should show your personality and boost your confidence.
“Choosing the right gel nail colors for ombre nails can elevate your manicure from ordinary to extraordinary.”
– Nail Stylist Magazine
Seek Inspiration
If you’re unsure about color choices, look around for inspiration. Browse online ombre nail designs, nail polish catalogs, or visit a nail salon. Pick colors that grab your attention and imagine how they’d look in an ombre design.
Test the Colors Beforehand
It’s smart to try colors on a nail sample before committing. This shows how well they blend and if they give the gradient you want. Feel free to try various combinations until you find the perfect one.
By keeping these tips in mind and staying true to your style, you can find the best gel nail colors for your ombre nails. Whether you love soft pastels or striking metallics, there’s a color mix that will highlight your nails. Next, we’ll show how to create stunning ombre nails on different nail lengths.
Achieving Ombre Nails on Different Nail Lengths
Ombre nails work on all nail lengths. You don’t need long nails to have beautiful ombre designs. Even with short nails, a lovely gradient look is possible. We will share expert tips and tricks for ombre nails on any nail length.
Short nails are great for ombre designs. They allow you to try a sleek, minimal ombre look. By placing the gradient just right, you make the shape of your nails stand out. This adds a touch of elegance.
For short nails, softer shades or gentle color transitions can seem to lengthen them. Try using soft pastels, quiet neutrals, or monochromatic gradients for a classy look.
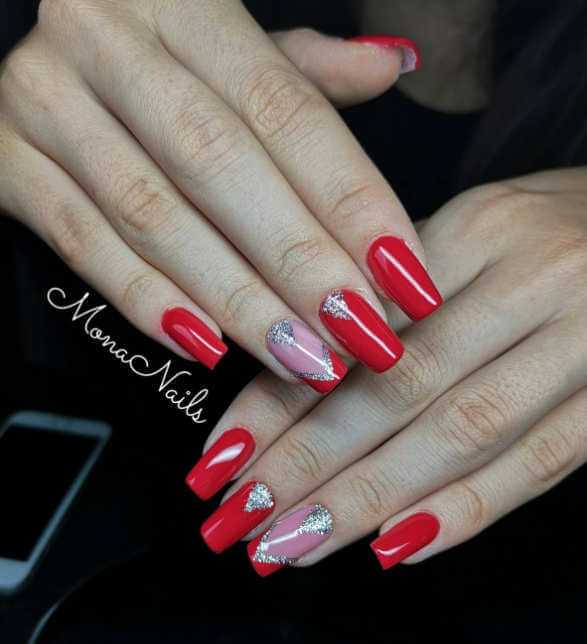
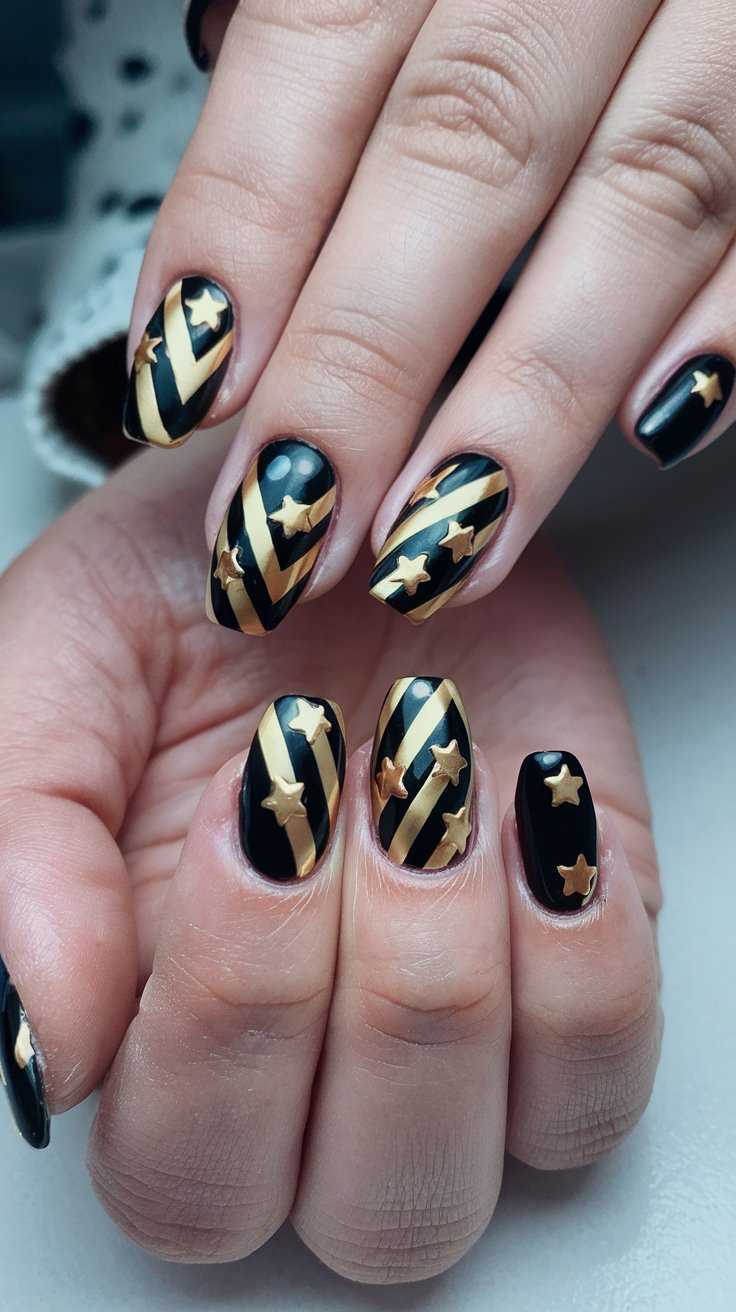
If you want your short nails to make a statement, use bold contrasts. Black and white, navy and gold, or bright jewel tones can make your nails pop. These colors add personality to your look.
You can make your short ombre nails unique by adding art or decorations. Simple geometric shapes, glitter, or pretty decals can turn heads. It’s all about making your nails stand out.
Remember, the key to stunning ombre nails on short nails is to try different colors and styles. Find what matches your personal style and nail shape. Enjoy experimenting with ombre techniques to find what suits you best!
Below, find some inspiring ideas for ombre nail designs on short nails:
| Ombre Nail Design | Description |
|---|---|
 |
A gentle ombre from nude to blush pink for a simple look. |
|
Modern, edgy black and white ombre with geometric patterns. |
|
Chic gray ombre with shimmer for elegance. |
Longevity of Ombre Nails
Ombre nails are a stylish pick and last just as long as traditional nail sets. If you’re curious about how long do ombre nails last, you’ll be happy to know they have a similar lifespan.
The detailed process used to create ombre nails helps them last. This method layers gel polish or dip powder for a gradient look.
To keep your ombre nails lasting longer, care is key. Here are some tips for keeping your gradient nails beautiful:
- Regularly use cuticle oil to keep nails moisturized and prevent breakage.
- Keep your nails away from too much heat or hot water to avoid gel peeling.
- Use gloves for tasks that might expose nails to harsh chemicals.
- Don’t use your nails as tools to avoid damage.
- See your nail technician regularly for upkeep and touch-ups.
By taking care of your nails, you’ll make your ombre nails last longer.
Factors Affecting the Longevity of Ombre Nails
Several things can affect how long ombre nails last:
- As your nails grow, the ombre design might begin to look different. Regular touch-ups help.
- The strength and health of your natural nails play a role. Some may need extra care.
- A good nail care routine, like moisturizing, helps ombre nails last longer.
- Using high-quality products and following proper application methods can also extend their life.
Keeping these factors in mind and caring for your nails will help them stay vibrant.

With proper care, your ombre manicure can last for weeks. Enjoy showing off your beautiful nails!
Gel Ombre vs. Dip Powder Ombre
For gorgeous ombre nails, you can choose between gel polish and dip powder. Each has its own benefits and gives stunning results. Yet, they differ in how you apply them and their finishes.
Gel ombre nails use gel polish that needs to be cured with an LED or UV lamp. This creates a smooth gradient effect with precise color blending. They are shiny, last long, and feel light on your nails. Gel ombre nails stand out with their bright colors and detailed designs.
Dip powder ombre uses a dip system. Your nails get a powder coat and then a topcoat. This method is quick, easy, and great for those who like to do their nails at home. Dip powder ombre feels natural and offers a durable, light result without using a lamp. It’s perfect if you want a subtle gradient look.
If you’re deciding between gel and dip powder ombre, consider what you prefer and need. Here’s a pros and cons list for each method:
Gel Ombre Nails
- Pros:
- Smooth color blending for a seamless look
- Shiny finish
- Durable and lasts long
- Bright colors and complex designs
- Cons:
- Needs a lamp to cure
- Takes longer to apply than dip powder
- Requires practice to perfect
Dip Powder Ombre Nails
- Pros:
- Fast and simple to apply
- No lamp needed for curing
- Natural appearance
- Feels light and comfy
- Cons:
- Color blending not as precise as gel
- Finish might not be as glossy
- Fewer colors available than gel polish
Your choice between gel ombre and dip powder ombre will depend on what you like, your skill, and the look you’re going for. Both methods have unique benefits and can create eye-catching gradient nails.
Next, learn how to make stunning ombre nails at home with our easy guide.
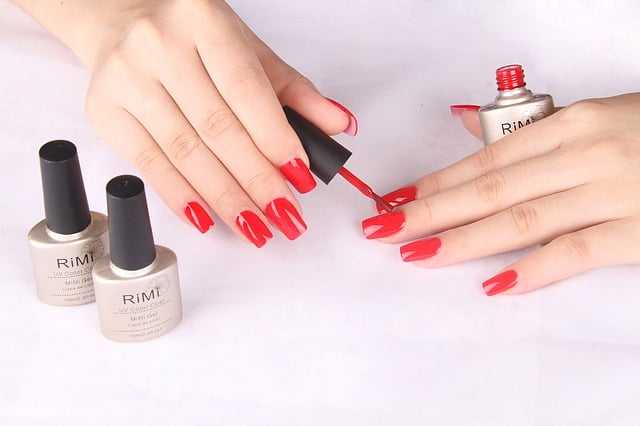
DIY Ombre Nails at Home
You don’t need a salon for amazing ombre nails. With practice and patience, you can nail the gradient look at home. We’ll show you how to get perfect ombre nails every time, step by step.
Selecting the Right Tools and Products
First, get all you need for your DIY ombre nails ready. You’ll need these:
- A base coat
- Two or more nail polish colors that blend well together
- A makeup sponge or a sponge applicator specifically designed for ombre nails
- Scotch tape or liquid latex for easy cleanup
- A top coat to seal and protect your design
- A nail polish remover and cotton pads for any cleanup needed
Step-by-Step Instructions
- Prepare your nails: Shape and file your nails to your liking. Clean off any old polish and push back your cuticles.
- Apply a base coat: Put on a thin base coat and let it dry. This smooths your nail surface for better color sticking.
- Apply the first color: Start with the lightest color at your tips. Use a brush or sponge applicator. Blend it slightly onto the nail bed.
- Create the gradient: Put the first and second colors on a clean surface. Dab the sponge on the colors then onto your nails, starting at the tip. Move towards the cuticle. Repeat for a perfect gradient. Add more polish to the sponge if you need stronger colors.
- Clean up the excess polish: After the ombre is dry, remove any polish on your skin. Use a remover-dipped brush or peel off the tape or latex.
- Seal the design: Apply a top coat for a glossy finish. This makes your manicure last longer.
- Final touches: Clean any polish around your cuticles. Use a remover-dipped brush. Put on cuticle oil or moisturizer to hydrate.
Follow these steps for gorgeous ombre nails at home. Add your personal touch with different colors and styles. Make your nails pop.
Ready to try? Get your favorite polishes and show off your DIY ombre nails!

Trendy Gel Ombre Nail Designs
Are you bored with simple nails? Want to make your manicure more exciting? Gel ombre nails are a perfect choice! They give a beautiful gradient effect and lots of space for creativity. You can pick from a gentle blend or a striking contrast. This piece shares the hottest gel ombre nail styles right now. Get ready for some inspiration!
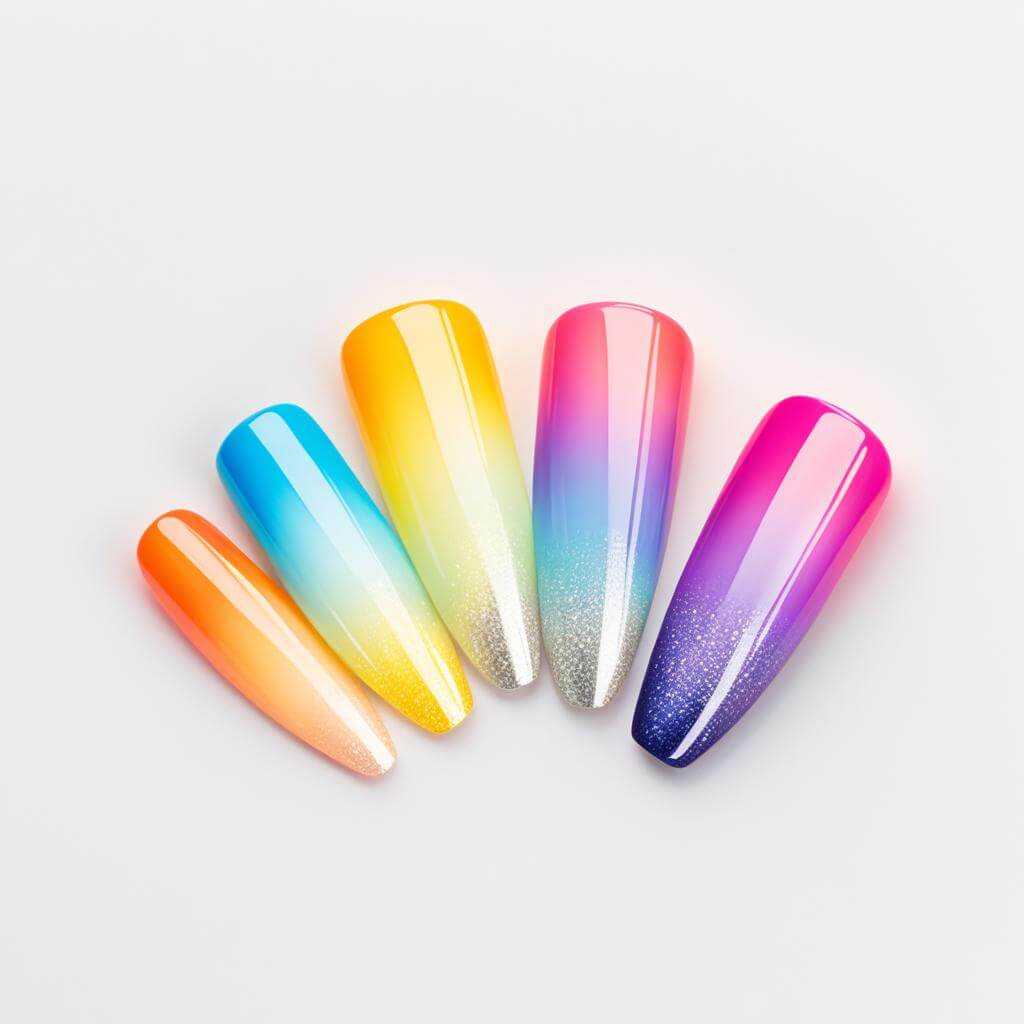
Rainbow Ombré
Imagine mixing more than one color in a gradient. That’s a rainbow ombre! This design moves smoothly from one rainbow color to another. It’s eye-catching and fun. You can go for soft pastels or loud, bright shades. Either way, it’s a show-stopper.
Checkered Patterns
Why not mix ombre with checkered patterns? It’s a fresh take on the ombre style. This design blends shades and geometric shapes, making your nails stand out. You can try checks in one color or a colorful grid. There are many options.
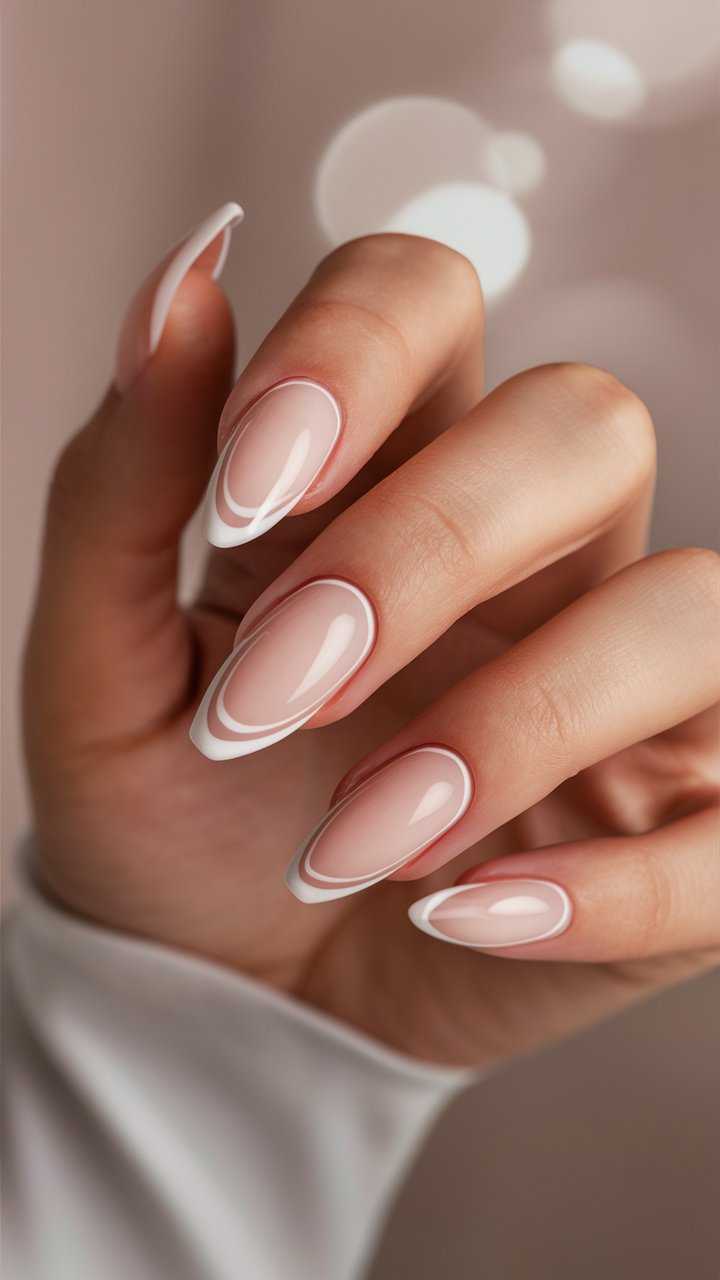
French Ombre
Do you like French tips but want something new? Try French ombre nails. They mix the classic white tip with a gradient. This creates a smooth change from the nail bed to the tip. It’s a modern twist on a classic look.
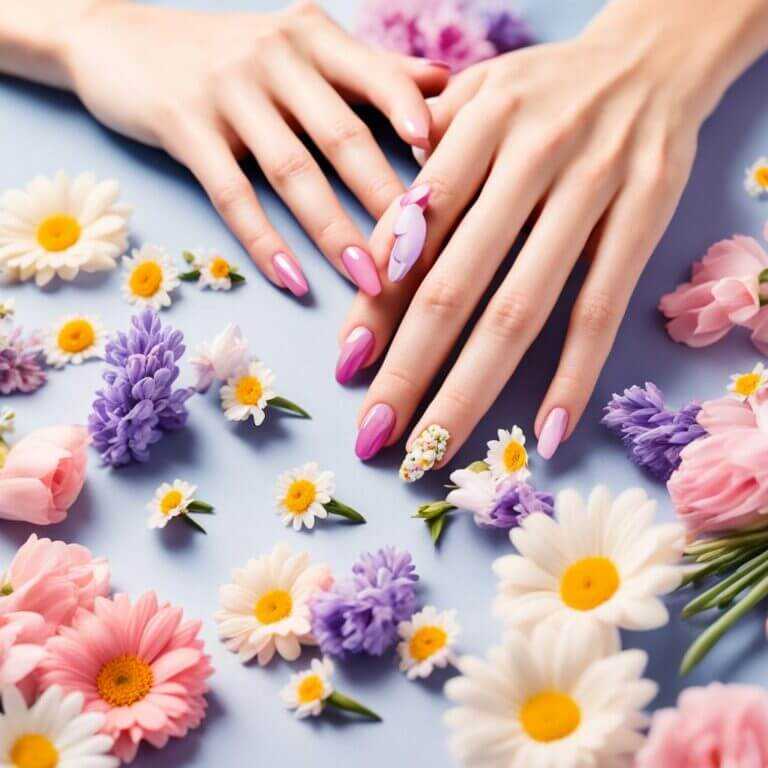
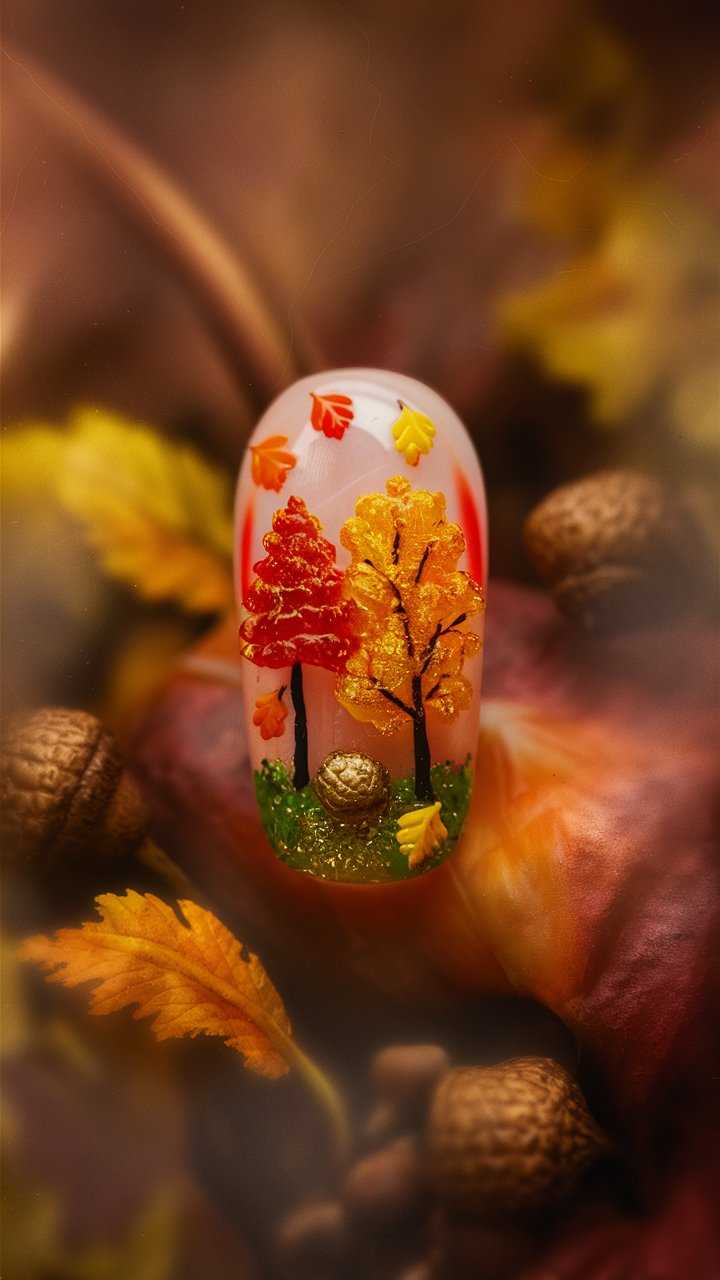
Floral Ombre
Add nature’s beauty to your nails with a floral ombre design. It combines flowers with a gradient effect. The result is a manicure that’s both girly and creative. Pick flower patterns that match the ombre shades. It’ll look beautiful and detailed.
These ideas are just the start for trendy gel ombre nails. Be creative and select colors and patterns that show your style. From loud and bright to gentle and light, gel ombre nails let you express yourself. So, try these ideas or invent your own gel ombre masterpiece!
Best Products for Gel Ombre Nails
To get perfect gel ombre nails, you need the best products. We’ve picked out the finest gel polishes, nail brushes, and kits for you. They ensure your nails look vibrant and last long. You’ll find applying them easy for an impressive gel ombre look.
Gel Polishes for Ombre Nails
For ombre nails, choose gel polishes with rich colors that mix well. Here are our favorites:
| Gel Polish | Features | Price |
|---|---|---|
| OPI GelColor | Wide range of colors, high shine finish | $15 |
| Essie Gel Couture | Long-lasting wear, gel-like shine | $12 |
| CND Shellac | Highly pigmented, chip-resistant | $20 |
Nail Brushes for a Perfect Blend
Right nail brushes are key for a smooth ombre blend. Check out these brushes for great gradients:
- Medium-sized flat brush: Ideal for blending colors
- Fine-tipped brush: Perfect for detailed designs
- Sponge brush: Helps get a soft ombre look
Nail Kits for Easy Application
For beginners or to make things easier, get a nail kit. These sets come with polishes, brushes, and often lamps. Look at these popular kits:
- Gelish Complete Starter Kit: Includes polishes, LED lamp, and accessories
- Modelones Gel Nail Kit: Has many gel colors and tools
- Beetles Gel Nail Polish Starter Kit: Good for beginners, lasts long
With these top products for gel ombre nails, amazing gradients are just steps away. Use the links below to buy what you need and start your ombre adventure:
- Shop Gel Polishes
- Explore Nail Brushes
- Get Complete Nail Kits

Step-by-Step Ombre Nail Tutorial
Ready to craft ombre nails on your own? This tutorial will guide you through each step to get that flawless gradient. Let’s dive in and create beautiful ombre nails easily at home.
Step 1: Prepare Your Nails
First, get your nails ready for the ombre look. Take off any old polish and shape your nails as you like. Use a cuticle pusher to tidy up the edges for a neat start.

Step 2: Gather Your Supplies
Ensure you have everything you need for the tutorial. You’ll need:
- Base coat
- Two or more gel nail polish shades for the gradient
- A makeup sponge or ombre brush
- Top coat
- Nail polish remover and cotton pads or q-tips for cleaning
- A UV or LED lamp for setting the gel polish
Step 3: Apply the Base Coat
Begin by applying a thin base coat on your nails. It helps the gel polish stick better and keeps your nails safe.
Step 4: Choose Your Colors
Pick two or more gel polish colors for your ombre. Choose colors that mix well and transition smoothly.
Step 5: Prepare the Sponge
If using a makeup sponge, cut a small piece that fits your fingertip. Clean the sponge and slightly wet it.
Step 6: Apply the First Color
Put the lighter gel polish color on the sponge or brush. Tap it on your nail tip, moving upward for the ombre effect. Start gently and press harder as you blend the colors.
Step 7: Apply the Second Color
Next, apply the second polish color the same way. Layer it over the first color to blend them together. Keep moving up for a gradient look.
Step 8: Blend and Repeat
Blend the colors on your nails with gentle circular moves. If needed, repeat with more colors until you’re happy with the gradient.
Step 9: Clean up Excess Polish
Clean any polish outside your nails with a brush or q-tip and remover. This makes your ombre nails look neat and professional.
Step 10: Cure and Seal
Cure your nails under a lamp as per the gel polish instructions. Apply a top coat to seal the colors and add shine.
You’ve done it! You’ve completed the ombre nail tutorial for a stunning gradient look. Try out various colors and techniques for personalized ombre designs that show off your style.
Tips for Maintaining Gel Ombre Nails
Getting the perfect gel ombre nails is just the start. How you take care of them matters a lot. With the right care, your manicure will last longer and always look great. Here are some key tips to keep your gel ombre nails in top shape:
- Protect your nails: To avoid chips or peels, keep your nails safe. Wear gloves for housework or when you’re around strong chemicals or lots of water.
- Avoid using your nails as tools: Your gel ombre nails are pretty but not unbreakable. Don’t use them for things like opening stuff. Instead, grab the right tool to avoid damage.
- Moisturize your cuticles: For nails that grow well and look good, hydrate those cuticles. Use oil or moisturizer often to keep them from drying or peeling.
- Avoid excessive water exposure: Too much water can make the gel polish lift or chip. Try to use gloves when you’re doing dishes or anything else with lots of water.
- Maintain regular fills: As nails grow, you’ll notice a gap at the cuticle. See your nail tech for fills regularly to keep the color blend smooth and your manicure fresh.
- Apply top coat regularly: The top of your gel nails might lose its shine after a while. Put on a thin top coat every few days to stay glossy and minimize wear and tear.
- Use nail strengtheners: If you’ve got weak nails, a strengthener can help. It’ll keep your nails strong under the gel polish and prevent breaks.
Stick with these tips for a great nail care routine. Your gel ombre nails will stay beautiful and strong. Now, let’s look at some specific routines and products for even better manicure care:
Maintenance Routines for Gel Ombre Nails:
Conclusion
Gel ombre nails are a cool way to up your nail game. They bring a gradient effect that makes your manicure stand out. You can pick from soft pastels or bright colors to match your vibe.
We showed you various styles and trends of gel ombre nails. You learned about different styles, colors, and how to put them on different nails. This helps you get the gradient look you love.
Follow our easy tutorials and use the suggested products to make amazing gel ombre nails at home. With some care, your ombre nails will look great for weeks. This lets you show off your cool nails longer.
It’s time to try out gradient nails and get creative. Mix different colors and patterns to show your style. Be ready for people to notice and compliment your stunning manicure. Enjoy feeling confident with your stylish and perfect nails!