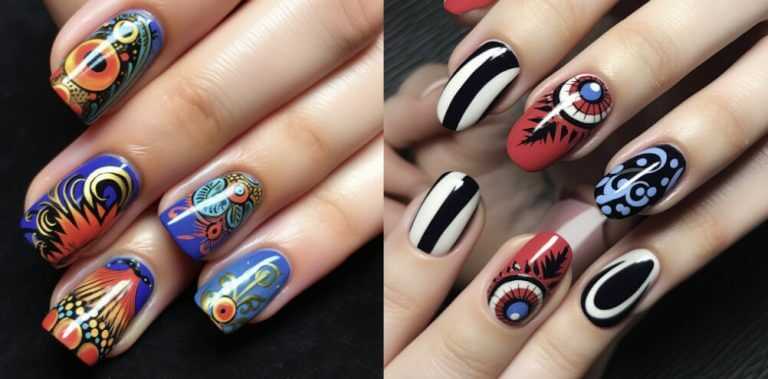
Gel Ombre Nails
The Ultimate Guide to Gel Ombre Nails: A Stylish Nail Trend Gel Ombre Nails. Are you looking to add a touch of glamour to your nails? If so, gel ombre nails are the perfect solution for you! This trendy nail art technique combines the durability of gel polish with the captivating beauty of ombre gradients….
The Ultimate Guide to Gel Ombre Nails: A Stylish Nail Trend
Gel Ombre Nails. Are you looking to add a touch of glamour to your nails? If so, gel ombre nails are the perfect solution for you! This trendy nail art technique combines the durability of gel polish with the captivating beauty of ombre gradients. In this comprehensive guide, we will explore everything you need to know about gel ombre nails. From the basics of ombre nail art to step-by-step application techniques, we’ve got you covered. So, let’s dive into the world of ombre nails and discover how you can achieve stunning and long-lasting nail designs.
What are Gel Ombre Nails?
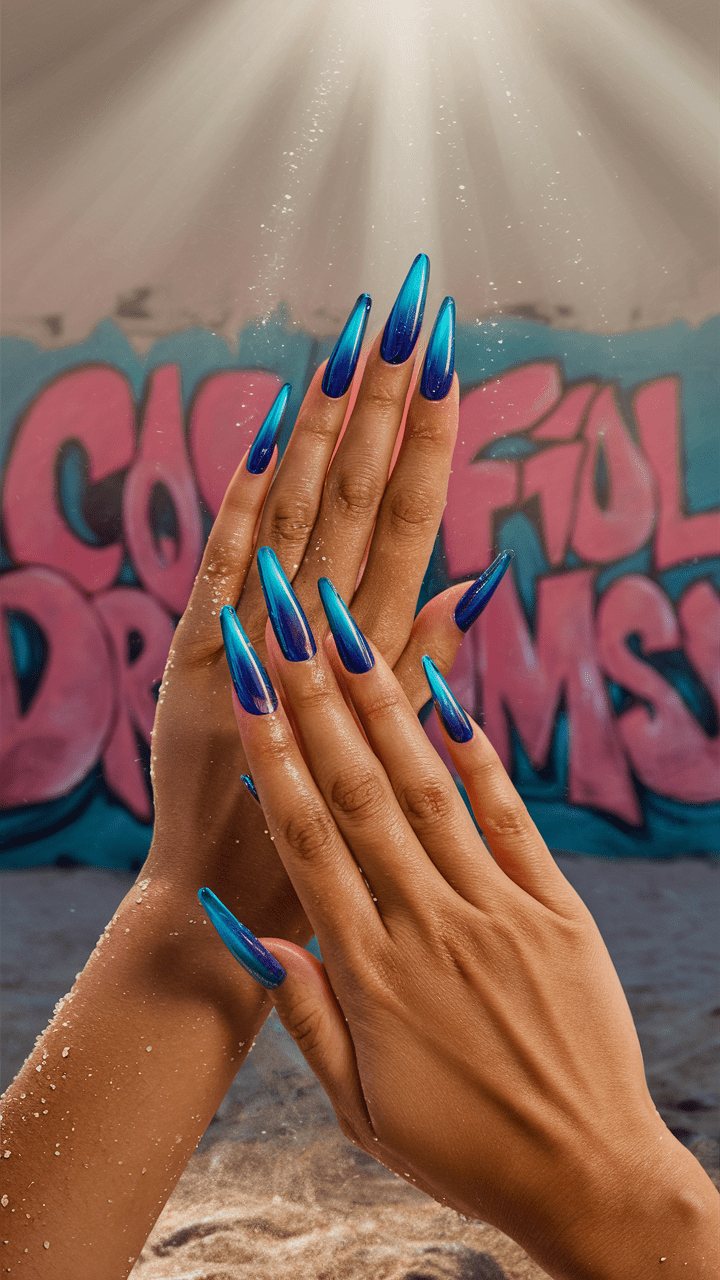
A nail art technique in which two or more colours blend seamlessly into each other to create a gradient effect on the nails. Unlike traditional ombre techniques, which use regular nail polish, ombre nails use gel polish, which is more durable and long-lasting. Gel polish is characterised by its resistance to chipping and its ability to maintain its shine for weeks. Using the ombre technique with gel polish, you can achieve a striking and eye-catching look that will last for a long time.
Why Choose Gel Ombre Nails?
Gel ombre nails have gained immense popularity among nail art enthusiasts for several reasons. Here are a few compelling reasons why you should choose gel ombre nails for your next manicure:
- Longevity: Gel polish is known for its long-lasting qualities. By opting for ombre nails, you can enjoy beautiful nails that remain vibrant and chip-free for up to three weeks.
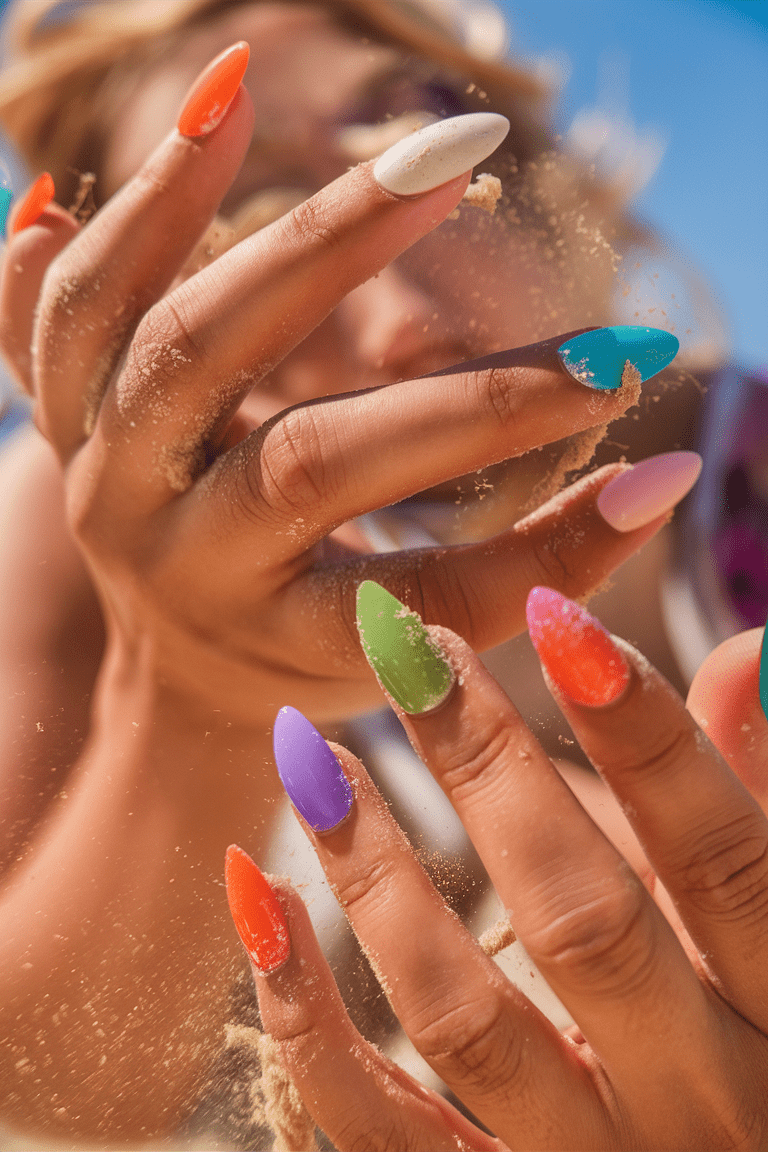
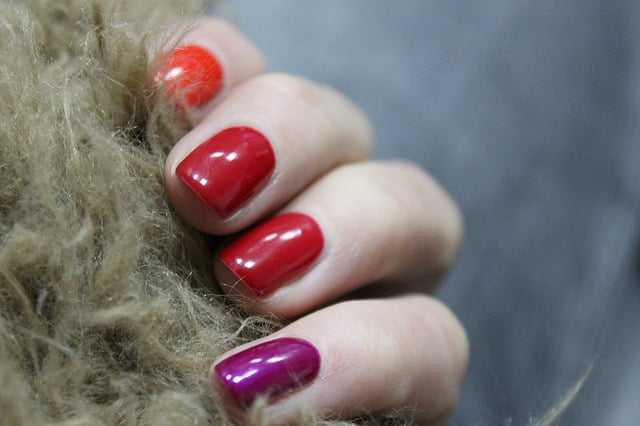
- Versatility: Gel ombre nails offer endless possibilities in terms of color combinations and designs. You can experiment with different shades and create unique gradients that suit your style and preferences.
- Durability: Gel polish is highly durable and resistant to everyday wear and tear. This makes gel nails an ideal choice for those who lead an active lifestyle or have a demanding profession.
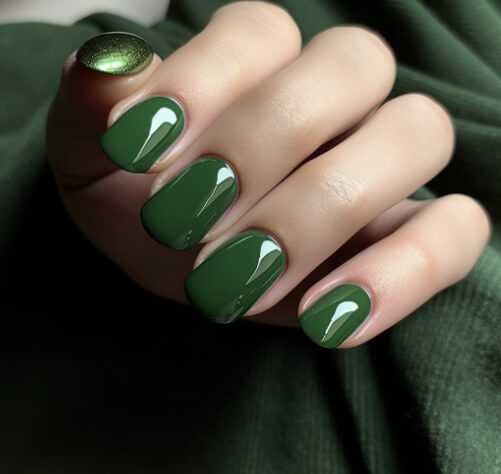
- Professional Finish: The smooth and flawless finish of gel polish gives your nails a professional salon-like appearance. With ombre nails, you can achieve a polished and refined look without leaving the comfort of your home.
Now that we understand the basics of nails and their benefits, let’s delve deeper into the step-by-step process of creating stunning gel ombre nail designs.
How to Create Gel Ombre Nails: Step-by-Step Guide

Achieving picture-perfect ombre nails requires precision and attention to detail. Follow these steps to create your own gorgeous gel ombre nail design:
Step 1: Prepare Your Nails
Before you start the gel ombre application process, it is crucial to prepare your nails. Follow these simple steps:
- Remove any existing nail polish using an acetone-based nail polish remover.
- Trim and shape your nails using a nail file.
- Gently push back your cuticles using a cuticle pusher.
Step 2: Gather Your Supplies
To create ombre nails, you will need the following supplies:
- Gel base coat
- Gel colors of your choice
- Makeup sponge or a dedicated ombre sponge
- Gel top coat
- UV or LED lamp for curing
Step 3: Apply the Base Coat
Apply a thin layer of gel base coat to your nails and cure it under the UV or LED lamp according to

the manufacturer’s instructions. The base coat helps the gel polish adhere to your nails and ensures a smooth application.
Step 4: Prepare the Ombre Sponge
Cut a small section of the makeup sponge or use a dedicated ombre sponge. Apply a thin layer of each gel color you wish to use onto the sponge, making sure the colors slightly overlap.
Step 5: Create the Ombre Gradient
Gently dab the sponge onto your nails in a rolling motion, starting from the cuticle area and working your way towards the nail tips. Repeat this step until you achieve the desired gradient effect. Remember to clean the sponge and reapply the gel colors as needed.
Step 6: Cure the Gel Polish
Once you are satisfied with the ombre gradient, cure your nails under the UV or LED lamp to set the gel polish. Follow the recommended curing time provided by the gel polish manufacturer.
Step 7: Apply the Top Coat
Finish off your nails by applying a layer of gel top coat. This will seal the design, add shine, and ensure the longevity of your manicure. Cure the top coat under the UV or LED lamp as per the manufacturer’s instructions.
Congratulations! You have successfully created stunning gel nails. Now, let’s address some frequently asked questions to further enhance your knowledge about ombre nails.
FAQs About Gel Ombre Nails
1. How long does a gel ombre manicure typically last?
A gel ombre manicure can last up to three weeks without chipping, depending on your nail care routine and the quality of the gel polish used.
2. Can I achieve gel ombre nails at home?
Absolutely! With the right tools and a little practice, you can easily create gel nails in the comfort of your own home.
3. Will ombre nails damage my natural nails?
When done correctly and with proper nail care, ombre nails should not damage your natural nails. However, it is essential to follow the correct removal process to maintain nail health.
4. Can I use regular nail polish instead of gel polish for nails?
While regular nail polish can be used for ombre techniques, gel polish offers better longevity and durability, making it the preferred choice for nails.
5. Are gel ombre nails suitable for short nails?
Yes, ombre nails can be customized to suit any nail length and shape. Whether you have short or long nails, you can achieve stunning ombre gradients.
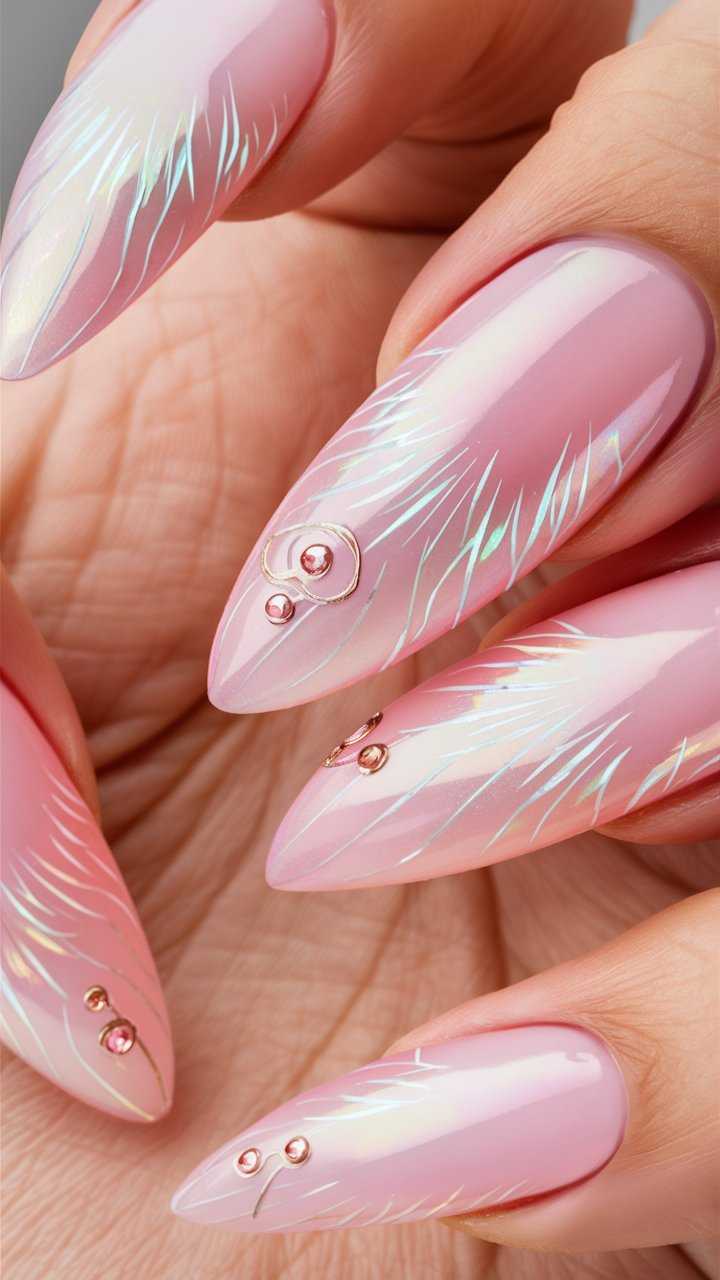
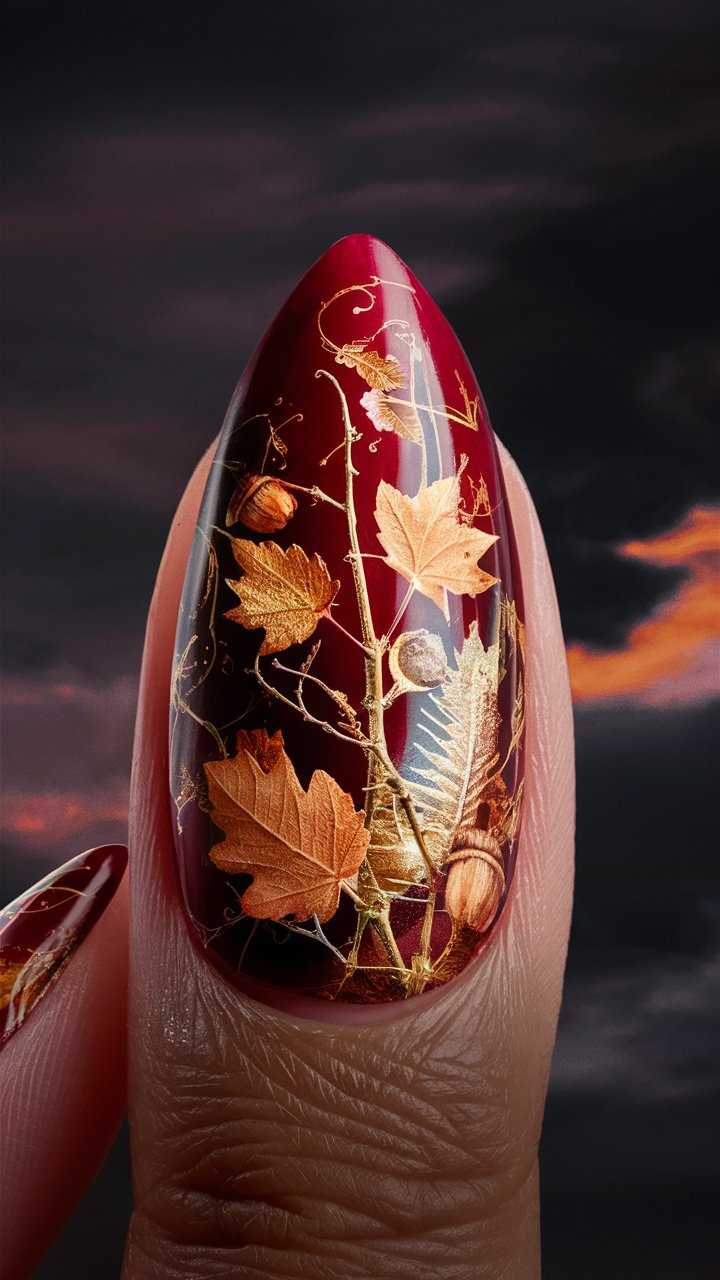
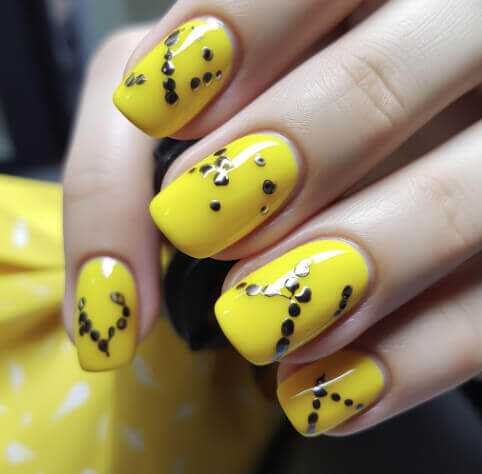
6. Can I add nail art embellishments to gel nails?
Absolutely! Gel nails provide a perfect base for adding nail art embellishments, such as rhinestones, glitter, or nail stickers, to further enhance your manicure.
Conclusion
Offer a captivating and long-lasting solution for those seeking stylish and glamorous nail designs. By combining the gradient effects of with the durability of gel polish, you can achieve salon-like manicures at home. With the step-by-step guide provided in this article, you can confidently create your own stunning ombre nails. Remember to experiment with different colors and techniques to express your unique style. So, embrace the gel ombre nail trend and showcase your creativity on your fingertips!