Delicious and Easy Gluten Free Recipes Bread
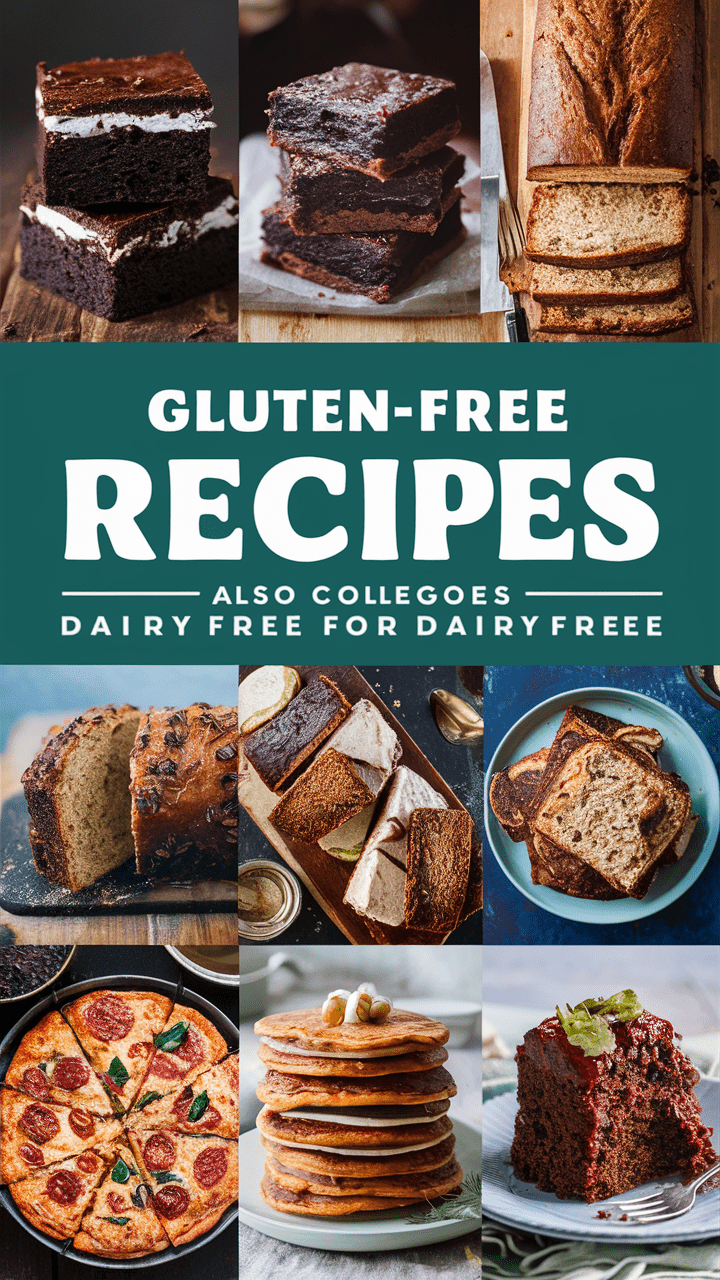
Discover delicious and easy gluten free recipes bread that are perfect for those with celiac disease or gluten intolerance. Satisfy your cravings with these tasty wheat-free loaves.
Are you or someone you love dealing with celiac disease or gluten intolerance? Finding good-tasting, gluten-free bread can be hard. But, you’re in luck! This post features a tasty and simple recipe for gluten-free bread. It makes a soft, chewy white sandwich bread that’s easy to slice. It also bends and squishes easily. Plus, it’s dairy-free, fitting for those with more diet limits.
The writer made this gluten-free bread for anyone without a bread maker. It uses basic ingredients found at home. Gluten-free flour, baking powder, yeast, olive oil, and egg whites are all you need. You can make a great white sandwich loaf or explore grain-free bread options. This recipe meets your needs for gluten-free and vegan bread.
Key Takeaways
- Delicious and easy gluten-free bread recipe for those with celiac disease or gluten intolerance
- Soft, chewy white sandwich bread with a unique texture that bends and squishes
- Naturally dairy-free, making it suitable for those with multiple dietary restrictions
- Oven-baked recipe using simple ingredients like gluten-free flour, baking powder, yeast, and egg whites
- Versatile recipe that can be customized to create a variety of gluten-free bread options
Introduction to Gluten Free Bread Baking
The gluten-free baking world is different from the usual. It faces unique challenges without gluten, the usual binding protein. Bakers find new ways and ingredients to get the right texture and rise. This journey leads to gluten-free bread that works well for those with celiac disease or gluten issues. They can enjoy homemade gluten-free bread, meeting their needs and cravings.
Challenges of Baking Gluten-Free Bread
In gluten-free baking, the absence of gluten brings a big problem. Gluten usually helps keep bubbles in and makes bread light. When it’s not there, gluten-free bread can turn out too dense or without structure. Bakers have to try many grain-free alternatives and binding agents. This is to make sure the bread still looks and tastes like it should.
Benefits of Homemade Gluten-Free Bread

Making your own gluten-free bread has many good points. You choose the ingredients, making a loaf that’s exactly what you need. It’s not just about meeting dietary needs; it’s about taste too. Homemade gluten-free bread often has a great texture and is enjoyable to eat. Also, you can add flavors like seeds. This makes your bread unique, catering to your personal preferences.
Ingredients for the Best Gluten Free Recipes Bread
Good gluten-free bread needs the right mix of flours, binders, and leavening agents. It’s not like regular bread. Gluten-free bread uses special gluten-free flour blends. These include rice flour, buckwheat flour, and potato starch. These flours help the bread get its texture and rise just right.
Gluten-Free Flour Blends
Choosing the best gluten-free baking ingredients is key. You want a bread that’s soft and rises well. These blends mix grains, starches, and flours to act like wheat flour. Ingredients often include rice flour, tapioca flour, potato starch, and xanthan gum. They help hold the dough together and mimic gluten’s effect.
Binders and Substitutes
Without gluten, binders take over to get the right texture and rise. Psyllium husk and xanthan gum are common binders. They keep the dough from falling apart and hold in the gas that makes the bread rise. Finding the right amount is key to perfecting your gluten-free bread.
Yeast and Leavening Agents

The yeast and leavening agents you pick are also important for bread’s texture and rise. Active dry yeast or instant yeast can work. But, you might need to tweak how you let the bread rise. Baking powder and soda add lightness to the bread.
Knowing what each ingredient does in gluten-free bread helps you bake better. The next part will show you how to make the dough just right for the tastiest loaves.
Preparing the Gluten Free Bread Dough
Setting up the top-notch gluten-free bread dough is key to a tasty, tender loaf. This process involves mixing the dry and wet ingredients just so. Here’s how to get your dough to the best consistency.
Combining the Dry Ingredients
First, measure your gluten-free flour blend. This usually has rice flour, buckwheat flour, and potato starch. In a big bowl, mix the gluten-free flour and any binders like psyllium husk or xanthan gum. Add the leavening agents like baking powder and instant yeast too. This dry mix is the base for your gluten-free bread dough.
Adding the Wet Ingredients
Now for the wet stuff. In a different bowl, blend the warm water, olive oil, and egg whites. Slowly add the wet mix to the dry. Use a hand or stand mixer with a paddle to mix until smooth. This is your gluten-free bread dough.
Kneading and Shaping the Dough
Gluten-free dough is wetter than regular dough. Instead of kneading, you’ll scoop, fold, and shape it. Put the dough in a greased loaf pan. Use wet hands to shape the top. Make sure it’s even in the pan.
The Importance of Proofing

Getting the proofing of gluten-free bread dough just right is key. It makes the bread rise well and feel light. Being careful with the warmth and free of drafts is important. This knowledge helps bakers make perfect gluten-free bread.
Creating a Warm Environment
Yeast loves a warm place to grow in the gluten-free bread mix. A temperature of 75-85°F (24-29°C) is best. You can create this by preheating your oven, then turning it off, and placing the dough inside. Or use a special box for this.
Timing the Proofing Process
Timing is crucial for proofing gluten-free bread. The dough needs time to rise, 45 minutes to an hour usually. After it has doubled in size, shape it into loaves or rolls. Then let it rise again for 30-45 minutes. Watching the proofing closely helps the bread get to its best without getting too puffy.
Baking the Gluten Free Recipes Bread
Now, the gluten-free dough is ready and it’s time to bake. Getting a nice, crisp crust on your gluten-free bread is key. We’ll look at how preheating your oven is important and some tricks to make great baking gluten-free bread.
Preheating the Oven
For great baking gluten-free bread, the oven must be hot. Make sure it’s at 375°F (190°C) before you put the dough in. A hot oven from the start helps the bread rise well and get a golden crust.
Try not to open the oven door too much while baking. This keeps the temperature steady. Otherwise, your bread might not rise evenly or be too dense.
Baking Techniques for a Golden Crust
After the oven is hot, take the next steps for a stunning gluten-free bread. Brushing the dough with egg white or olive oil helps. This makes the crust shiny. You can also add seeds or herbs on top for taste and looks.
Follow the baking time, usually 45-55 minutes. Watch it to make sure it bakes evenly. About halfway, turn the baking pan for a uniform color. Your bread is ready when the crust is deep gold and the inside is 205°F (96°C).
After baking, let the bread cool on a wire rack before cutting. Cooling completely helps the texture. With these steps, you’ll make a gluten-free loaf that’s soft, light, and has a beautiful crust.
Troubleshooting Common Issues
Even experienced gluten-free bakers face challenges making the perfect loaf. From a dense, gummy texture to flat, sunken bread, issues pop up. But, with the right tweaks, you can make tasty, airy gluten-free bread consistently.
Dense or Gummy Texture
If your bread feels dense or gummy, a few things might be to blame. Mixing the dough too much, adding too much flour, or not enough liquid can make it tight. Or, if the dough doesn’t rise well, it turns out heavy. Fix this by mixing lightly, watching ingredient amounts, and proofing the dough in a warm, still place.
Flat or Sunken Loaf
A loaf looking flat or sunken might be under-proofed or over-baked. If there’s not enough time for the dough to rise, it bakes up dense. Letting it bake too long can make it fall. To avoid this, ensure the dough rises well, and watch its oven time carefully.
Gluten Free Recipes Bread Variations
The basic gluten-free bread recipe is a great start. But, you can make it even better by adding seeds and nuts. You can also use herbs and spices to make your loaves smell and taste amazing.
Adding Seeds and Nuts
Seeds and nuts will make your bread tastier and healthier. They add a nice crunch and more fiber, protein, and healthy fats. You might like to add chia seeds, flaxseeds, sunflower seeds, chopped walnuts, or sliced almonds to your bread. However, don’t use too many, or your bread might not turn out right.
Flavoring with Herbs and Spices
Adding herbs and spices will make your gluten-free bread a flavor explosion. You can try rosemary, thyme, garlic powder, onion powder, or Italian seasoning. Feel free to mix and match to find what you love. Just remember, a little goes a long way. Make sure the flavors work well with the texture of the bread.
| Ingredient | Benefit | Quantity Recommendation |
|---|---|---|
| Chia Seeds | Fiber, Protein, Omega-3s | 1-2 tablespoons per loaf |
| Flaxseeds | Fiber, Omega-3s | 1-2 tablespoons per loaf |
| Sunflower Seeds | Vitamins, Minerals, Crunch | 1/4 – 1/2 cup per loaf |
| Walnuts | Protein, Healthy Fats, Crunch | 1/4 – 1/2 cup per loaf |
| Rosemary | Aroma, Flavor | 1-2 teaspoons per loaf |
| Thyme | Aroma, Flavor | 1-2 teaspoons per loaf |
| Garlic Powder | Flavor | 1/2 – 1 teaspoon per loaf |
| Italian Seasoning | Aroma, Flavor | 1-2 teaspoons per loaf |
Trying out seeds, nuts, herbs, and spices can make your bread amazing. Mix and match to see what you like best. Every slice can be a new tasty experience.
Storing and Freezing Homemade Bread

Keeping your homemade gluten-free bread fresh is very important. There are special ways to keep it tasty. Let’s talk about how to store and freeze it correctly.
When you want to store gluten-free bread at room temperature, use an airtight container. This stops it from drying or picking up strange smells. It’s best to eat the bread within 3-4 days if you leave it out. For longer periods, freezing is a great option.
To freeze, make sure your bread has cooled down. Then, wrap it tightly in plastic or put it in a freezer bag. Push out extra air to avoid freezer burn. Frozen gluten-free bread stays good for 2-3 months. When you’re ready to eat it, let the bread thaw at room temp or in the fridge overnight.
Remembering these storage and freezing tricks will keep your homemade gluten-free bread tasting fresh. You can enjoy its delicious flavor for a long time.
Equipment Recommendations for Gluten Free Baking
Baking gluten-free bread needs special equipment for gluten-free baking to get the best results. A good piece to have is a durable bread pan. Find bread pans for gluten-free bread that are ceramic or metal. These materials heat evenly and keep the bread’s shape while baking.
For making gluten-free bread, a stand mixer with a paddle attachment is key. The paddle mixes without making the bread too hard or sticky. Getting a top-notch mixer makes it smoother to knead the dough and mix the ingredients.
| Equipment Recommendation | Why It’s Important |
|---|---|
| Ceramic or metal bread pans | Provide even heat distribution and help the loaf maintain its shape |
| Stand mixer with paddle attachment | Thoroughly incorporates ingredients without over-mixing |
| Mixing bowls and spatulas | Allow for proper mixing and shaping of the gluten-free dough |
| Parchment paper or silicone baking mats | Prevent the dough from sticking to the pan and ensure easy removal of the baked loaf |
Other useful tools for gluten-free bread making include mixing bowls, spatulas, and parchment paper or silicone baking mats. These help to mix and shape the dough. They also make sure the bread easily comes out of the pan.
With the right equipment for gluten-free baking, you can make great gluten-free bread at home.
gluten free recipes bread
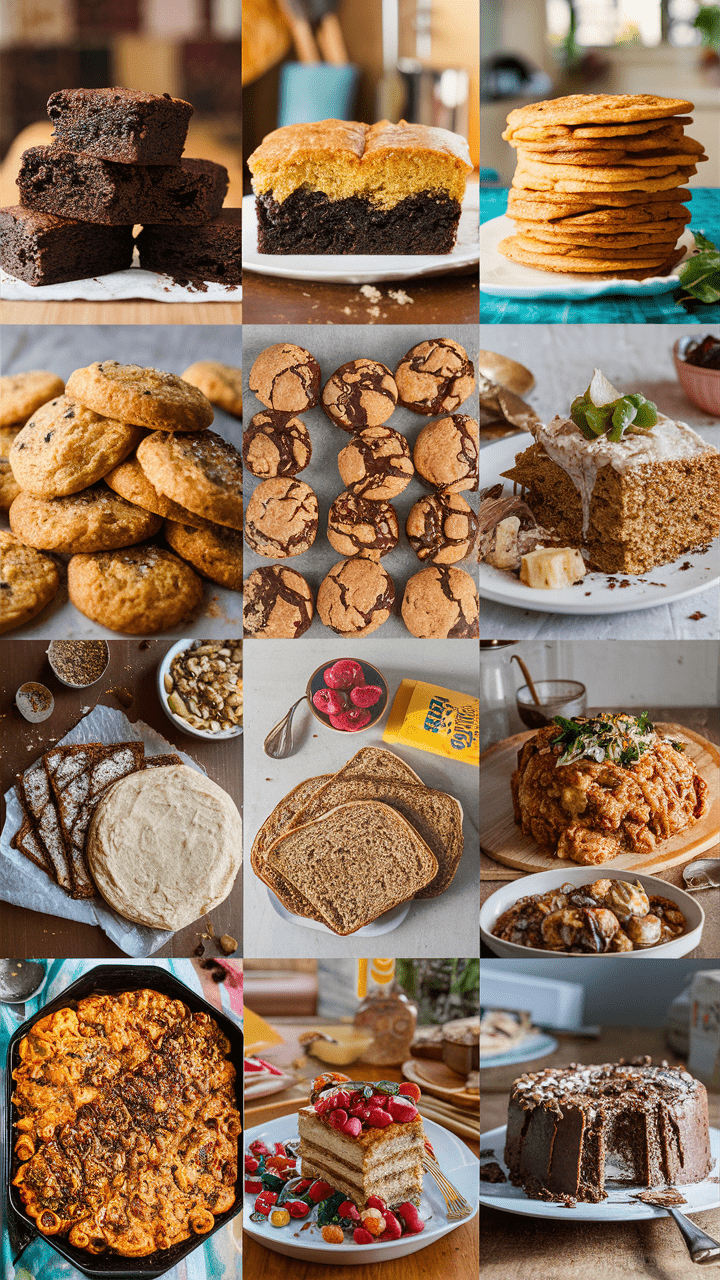
Looking beyond the classic white sandwich gluten-free bread, you’ll find many tasty options. This section is filled with a wide range of gluten-free bread recipes. There’s something for everyone, from the savory lovers to those with a sweet tooth.
Start mornings right with homemade gluten-free bread, toasted and topped with your go-to nut butter and fruit preserves. For a more filling option, enjoy gluten-free bread packed with seeds and nuts. It adds a nice crunch to your breakfast.
If you love the smell of baking, try a loaf using fragrant herbs and spices. Adding rosemary, thyme, or garlic can make your gluten-free bread savory and aromatic.
Don’t miss out on the sweet goodies! Imagine turning a soft, gluten-free bread dough into swirl rolls with cinnamon sugar. Or use it for a light, flaky babka base.
With these various gluten-free bread recipes, you’ll open a world of options for your bread needs. Even if you’re on a gluten-free diet, you can enjoy the comfort and taste of fresh gluten-free bread. So, dive in and find your next beloved bread recipe.
Conclusion
As our journey through delicious gluten-free bread recipes ends, we hope you’re ready to bake. This conclusion gluten-free bread recipe is both reliable and versatile. It will fulfill your bread needs while helping with dietary requirements.
We’ve discussed the challenges and joys of gluten-free bread baking. We talked about key ingredients and important techniques. We also shared tips to make sure your loaves come out perfect every time. By following our guide, you can make soft, chewy, and tasty gluten-free bread at home.
The summary gluten-free bread recipe we shared is just the start. We encourage you to try new things, like different mix-ins and flavors. This will boost your skills and meet what you like. With this recipe and the tips in this article, you’re on your way to being a gluten-free baking pro. You’ll be able to wow your loved ones with your bread.